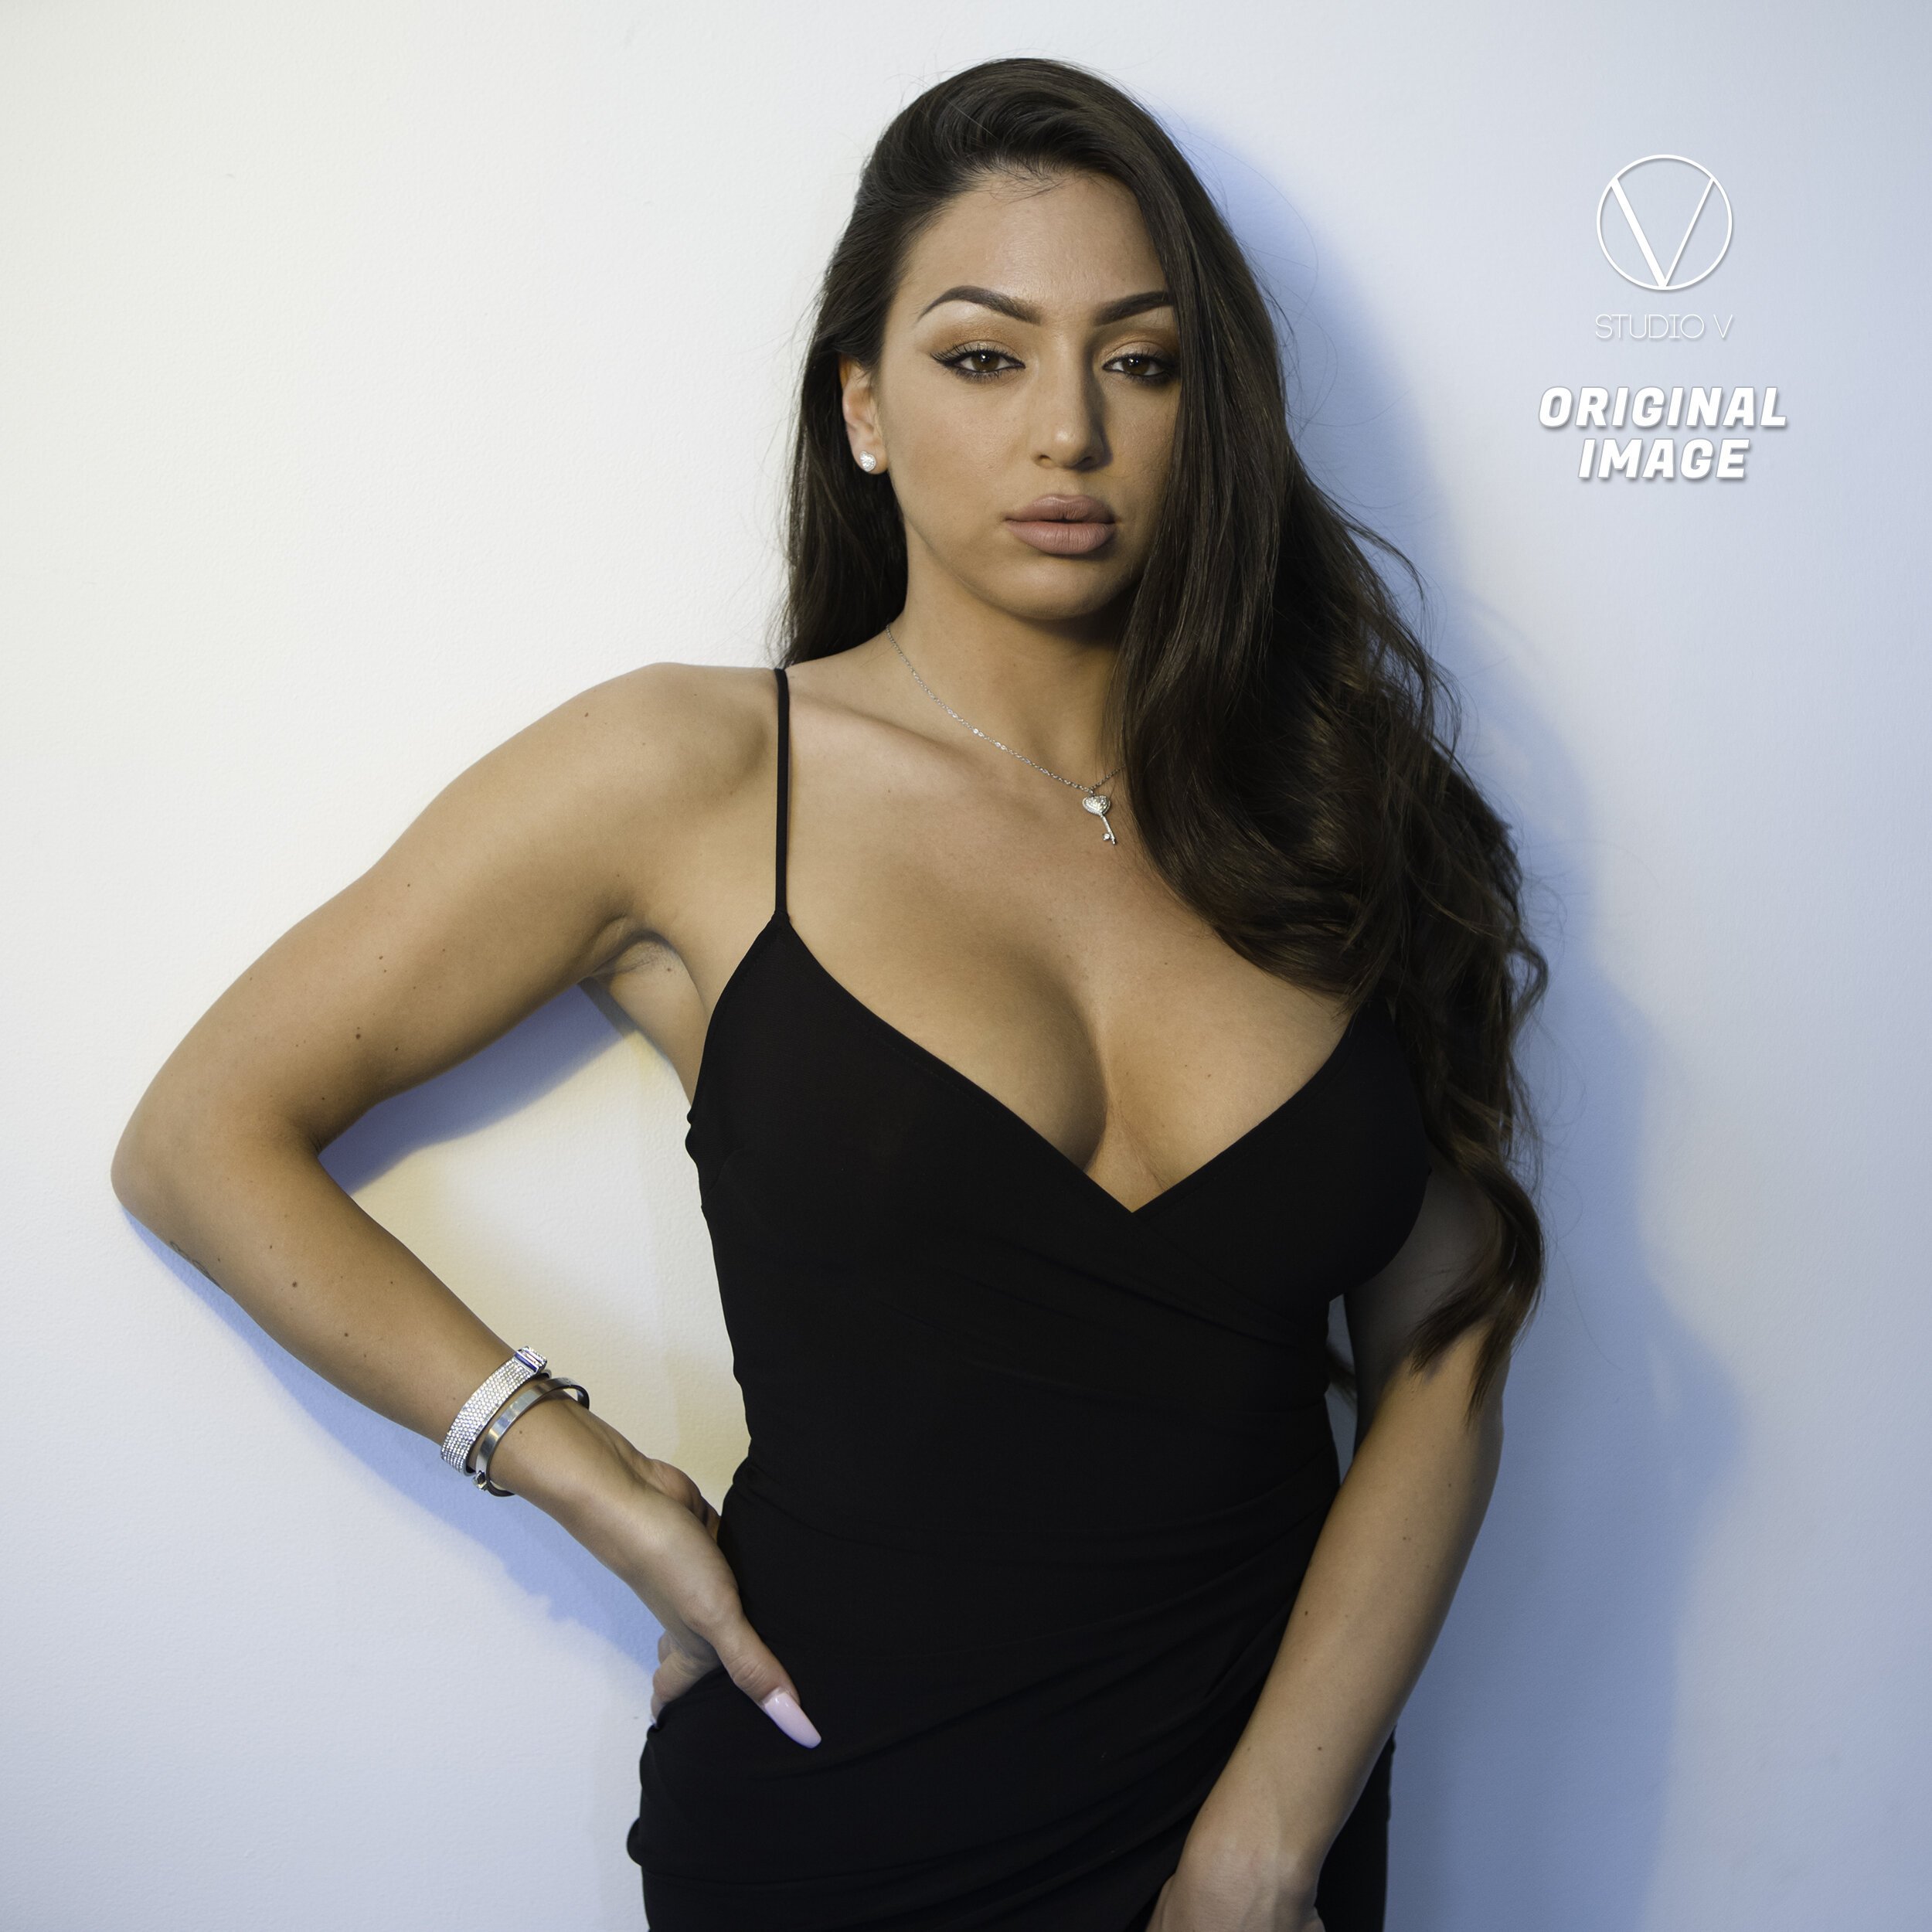
MY FULL SKIN EDITING WORKFLOW
Welcome to the first video in this Photoshop tutorial series. In this video I go through my full skin editing workflow from start to finish. It’s a bit of a longer video as I go through my full editing process. For me skin retouching is one of the key steps in polishing off an image. If you can make a client’s skin look good without it looking like it’s been photoshoped than you’ve probably got yourself another booking.
I will be making another video that looks into how to setup and use Imagenomic Portraiture 3 and how to set it up to work as an action to speed up workflow. If you want to download Portraiture 3 here is the link: https://imagenomic.com/Products/Portraiture I’ve been using the program for nine years now and haven’t had any complaints about it.
If you have any question or suggestions regarding anything I do in this video please leave your comments on the YouTube video and i’ll get back to you as soon as possible. And as always if you enjoyed the content please leave a thumbs up and subscribe to the channel.
🛸 More content with Stefania Cima | Instagram
Mixer brush settings
Portraiture 3 settings


