
How to shoot a Solar Eclipse 2024
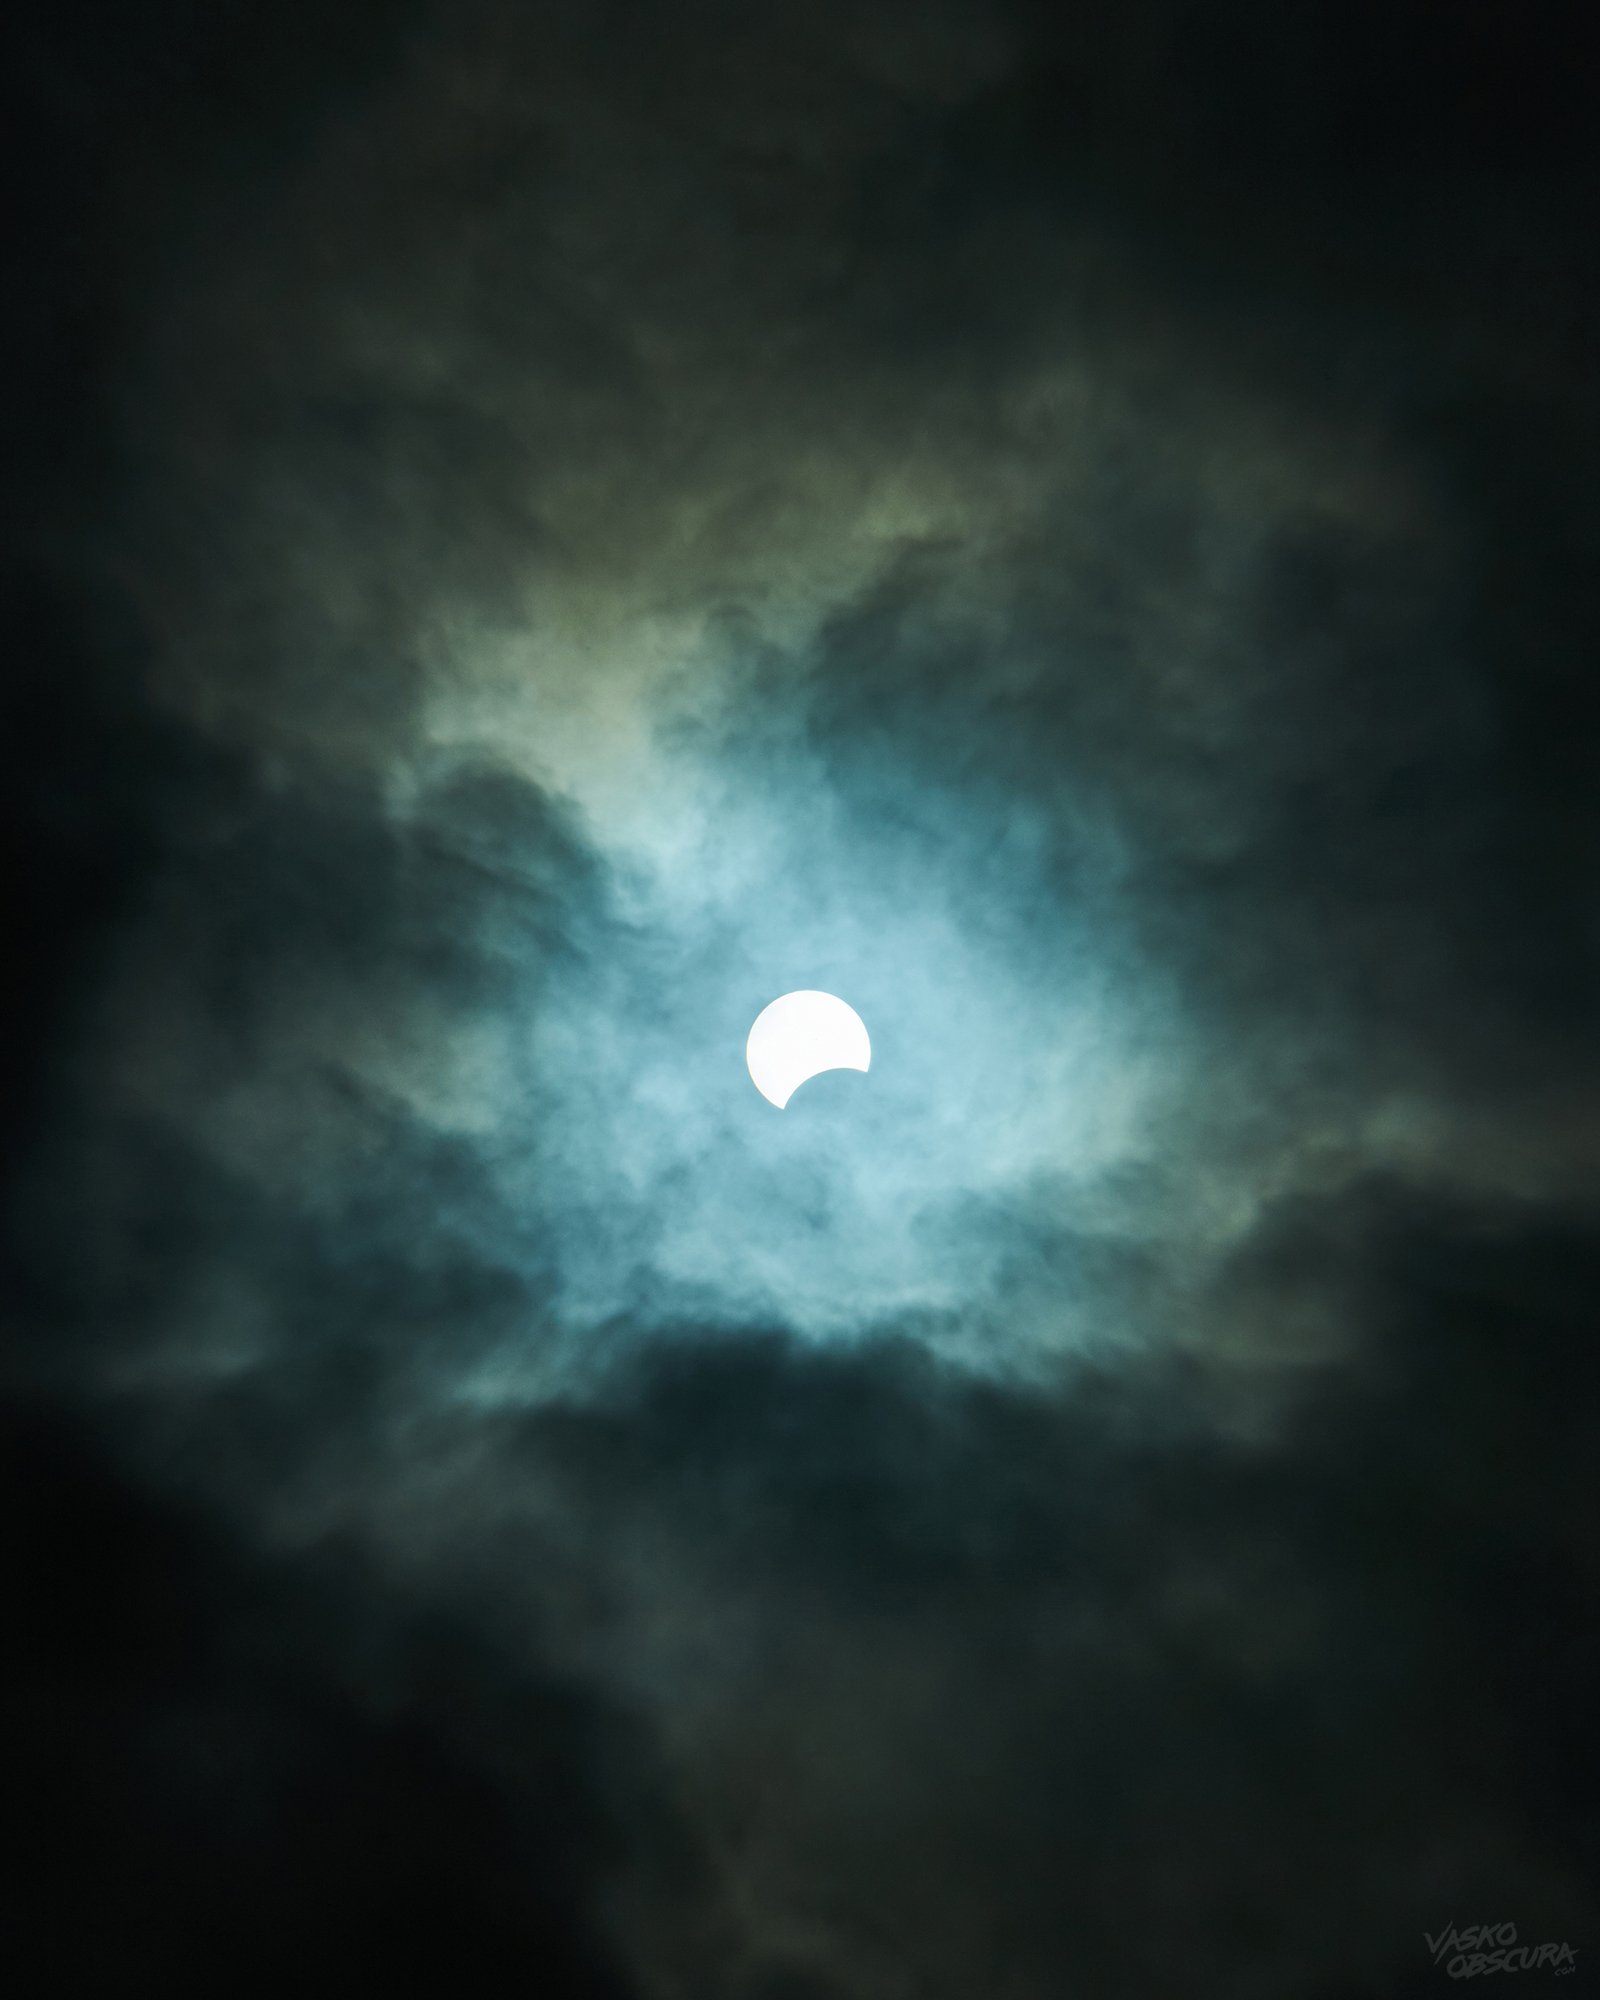
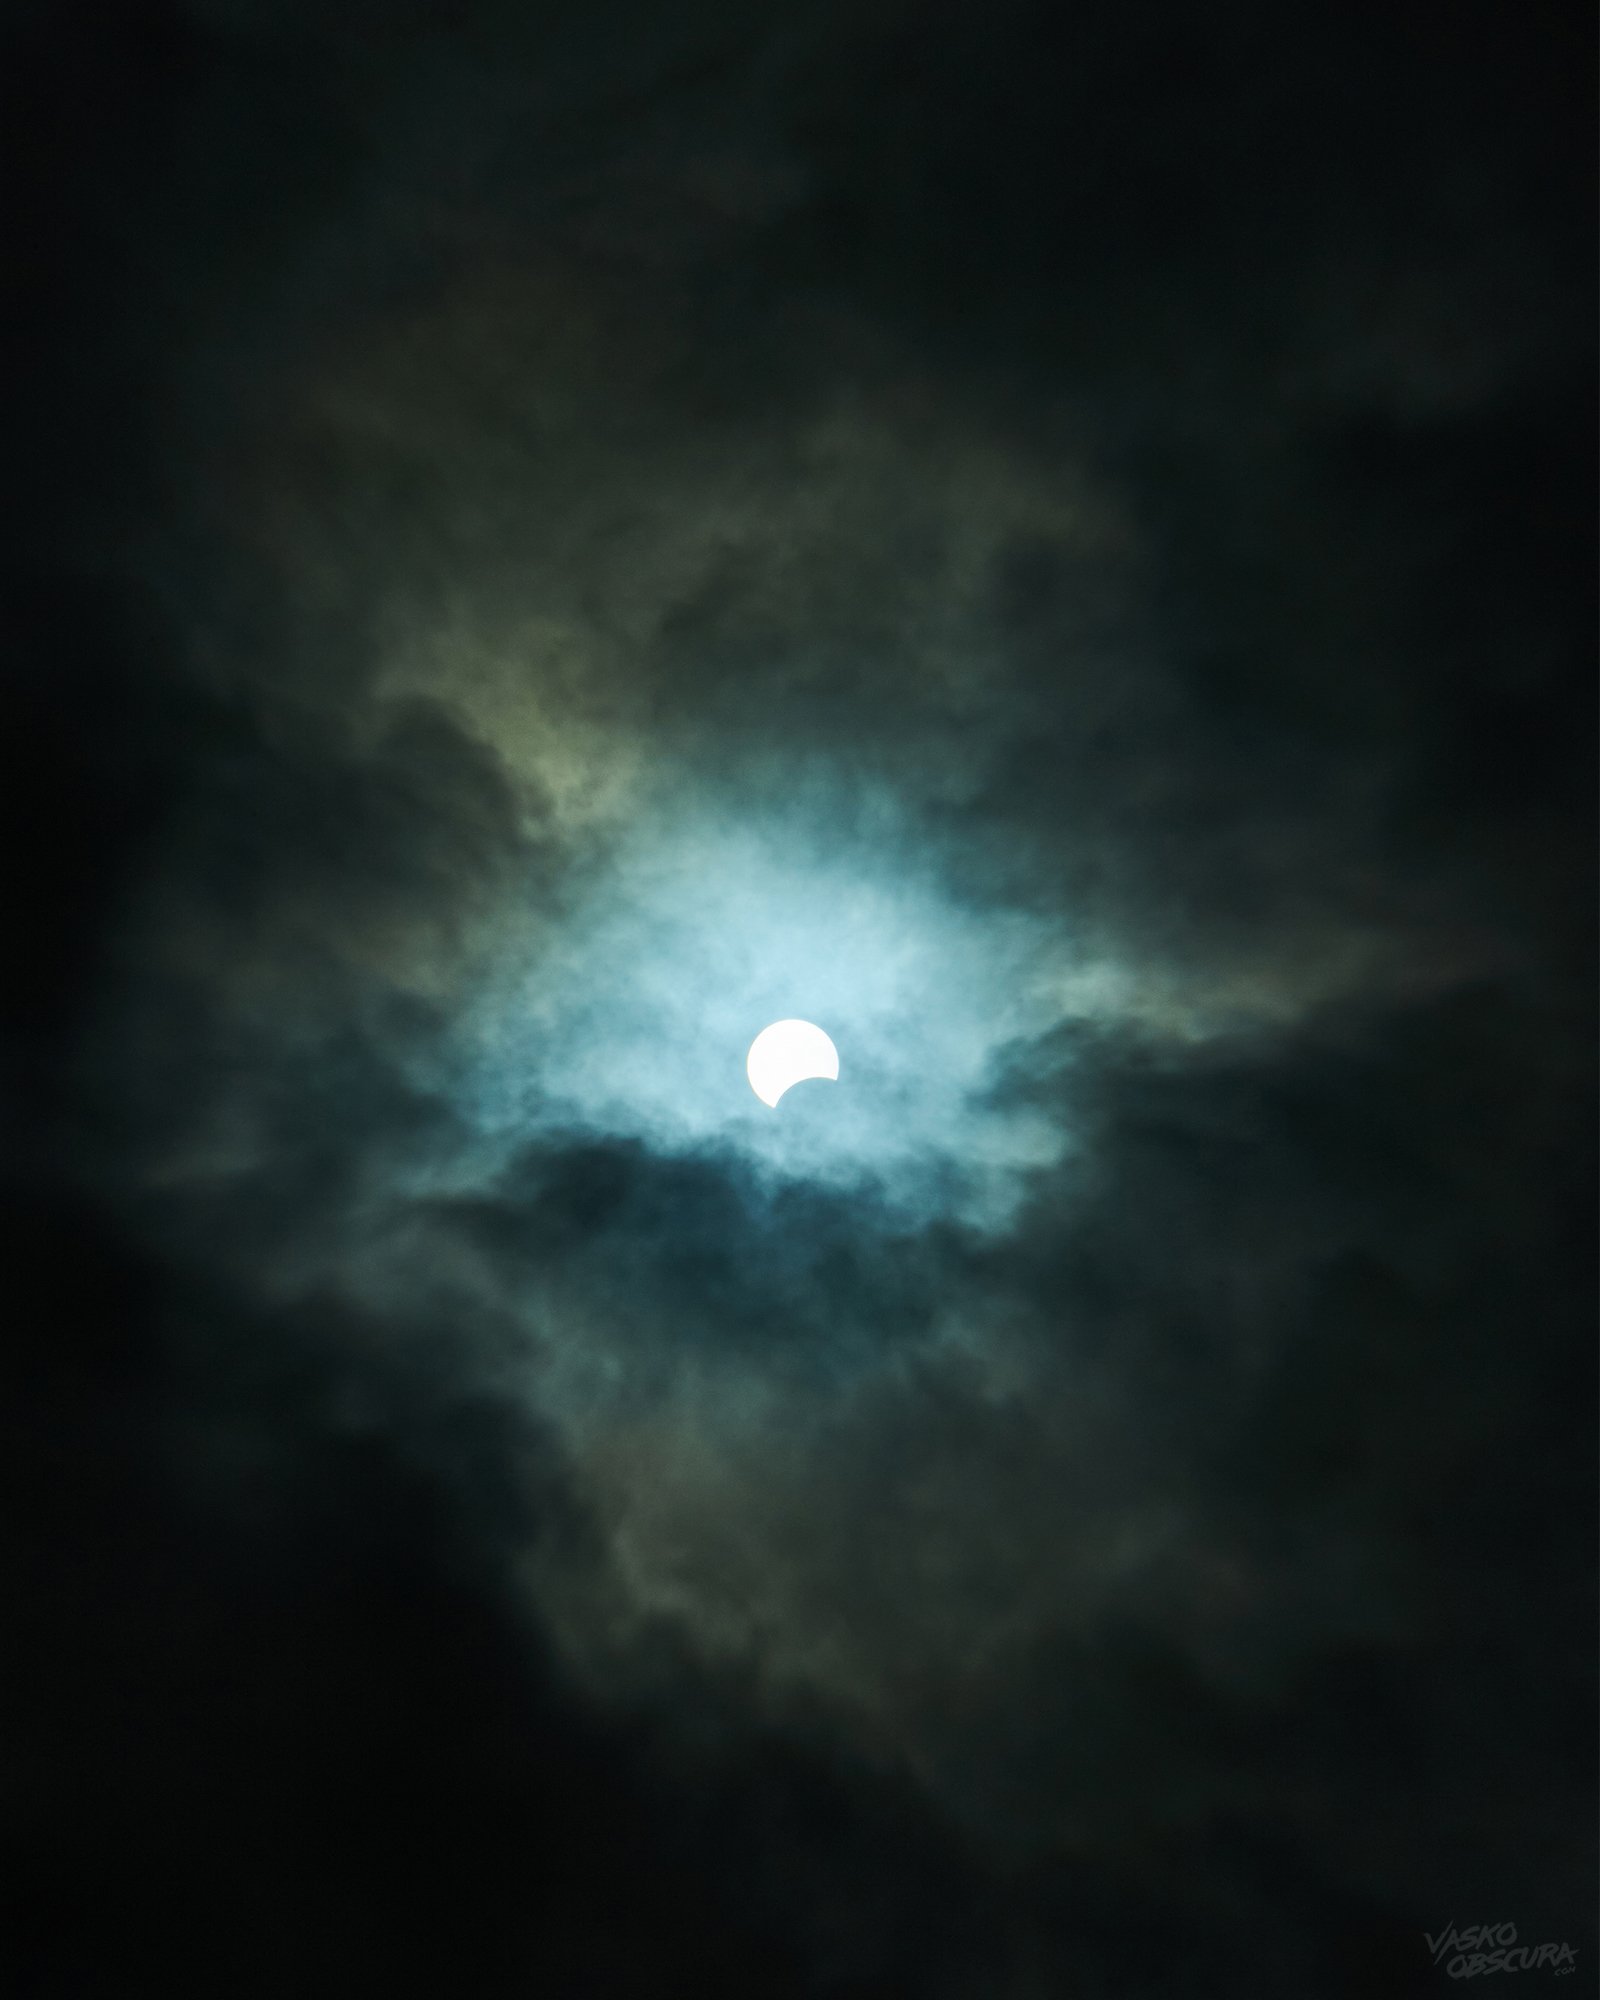
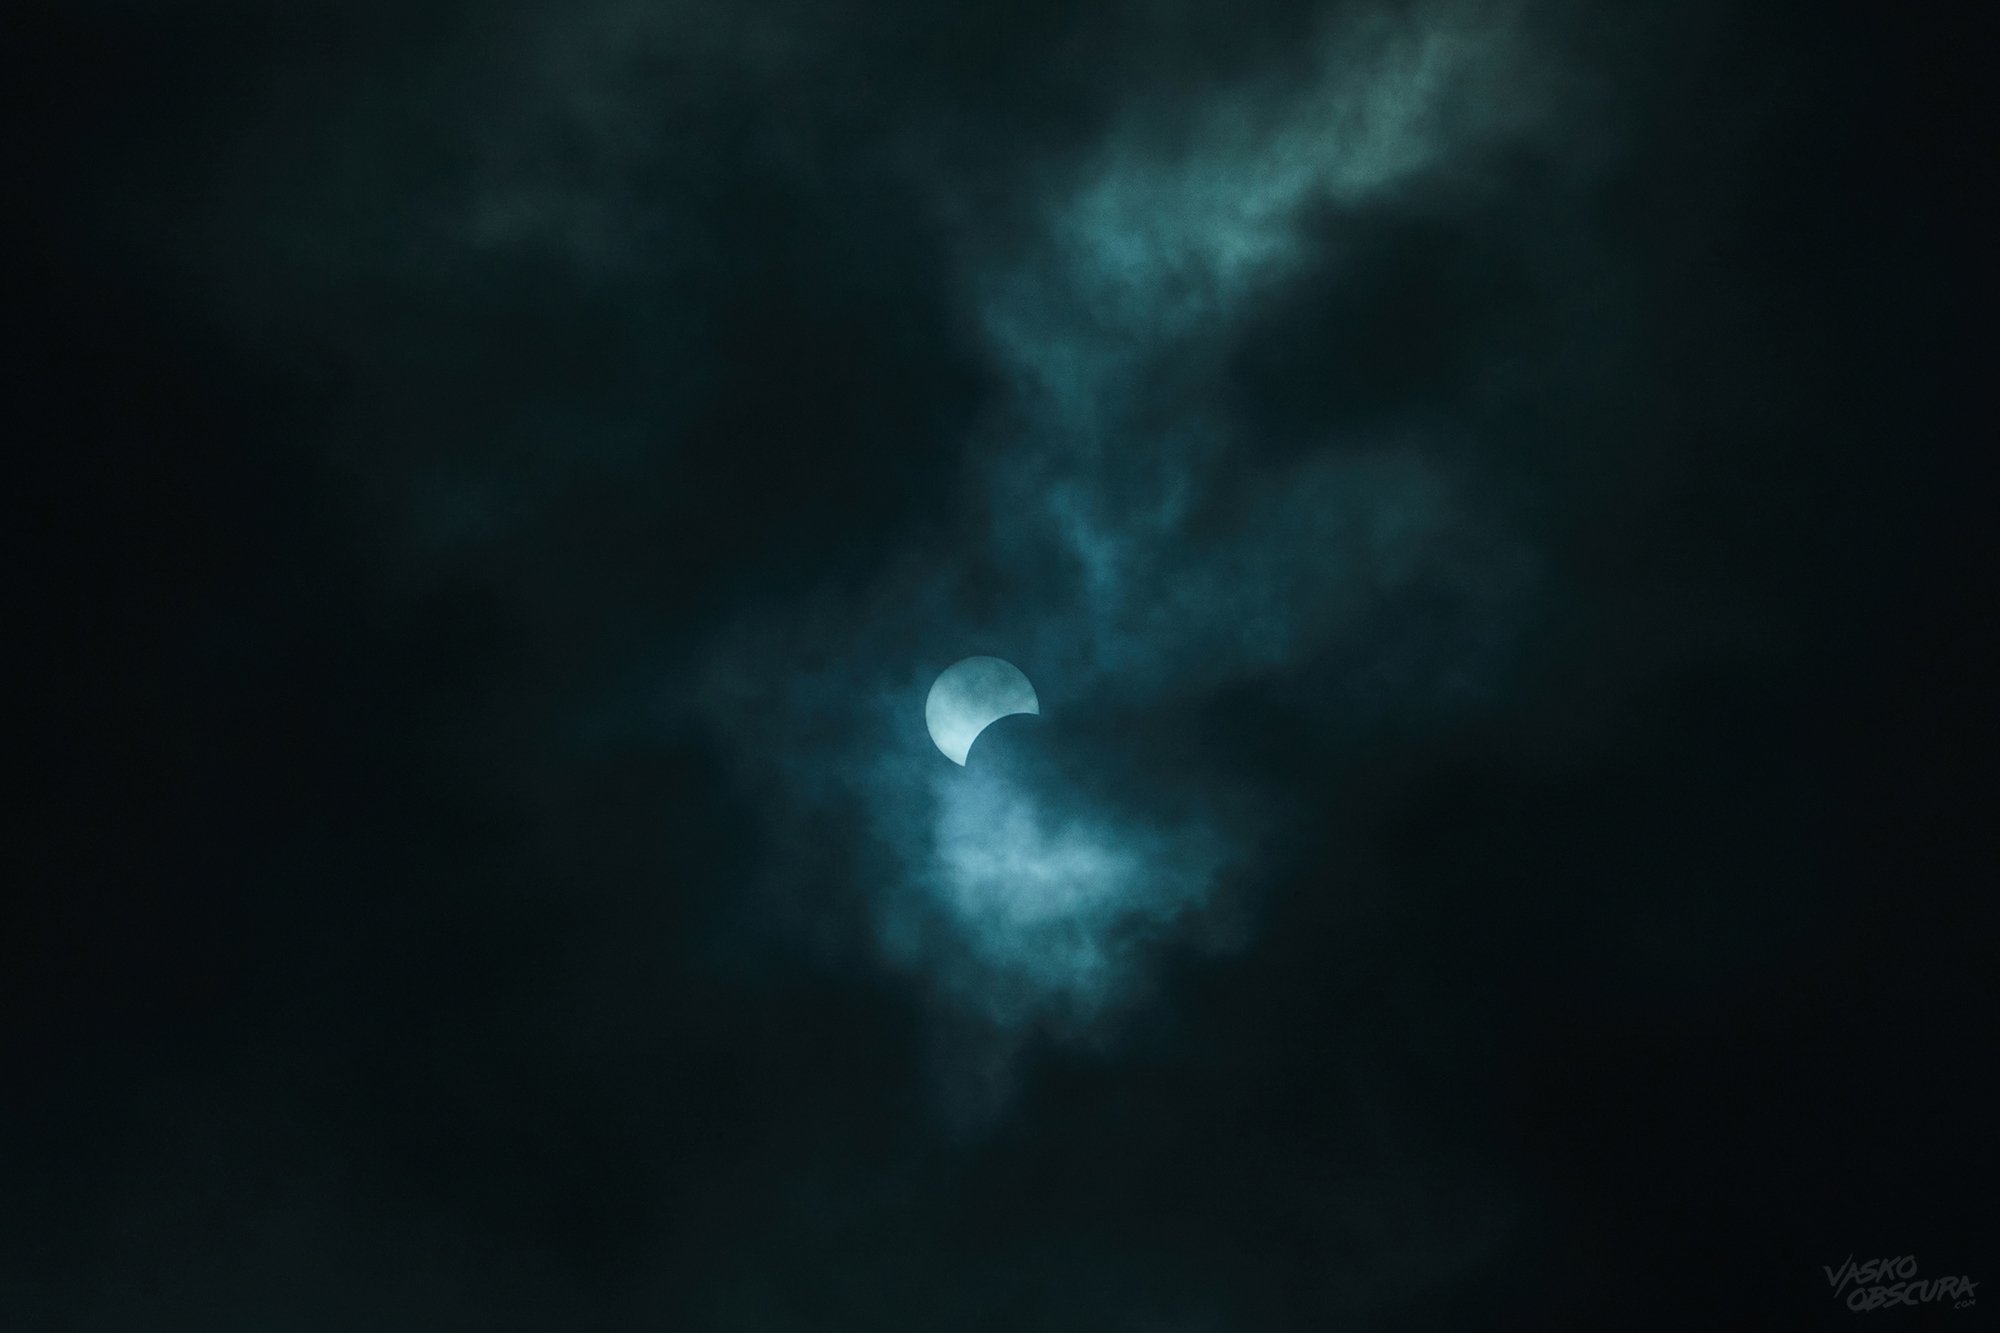
Yesterday was supposed to be the day I captured the elusive beauty of a solar eclipse through my lens. I was brimming with excitement, eagerly awaiting the moment when the moon would dance in front of the sun. However, nature had other plans, and the weather decided not to cooperate. Despite the thick cloud cover obscuring much of the spectacle, I managed to capture a few shots as the moon began its journey in front of the sun.
Although my opportunity to witness the full eclipse was thwarted, the experience was still magical. The clouds painted a moody backdrop against which the celestial show unfolded, adding an unexpected layer of drama to my photographs. Despite the setback, I’m very happy with the few photos I managed to capture.
Regrettably, I didn’t get enough footage to make a YouTube video. Nevertheless, I hope that sharing my experience in this blog post will prove helpful to fellow photographers in the future.
The Setup
When embarking on the endeavor to photograph the sun, safeguarding your eyes and camera sensor is paramount. Proper eye protection is a given, but many newcomers overlook the importance of shielding their camera sensors from the sun's intense rays. Without adequate protection, the concentrated light passing through the lens can damage your sensor. To mitigate this risk, I highly recommend using Neutral Density (ND) filters. For the shots below I stacked a Hoya ND 4 and ND 8 filter to reduce the intensity of the light. The filters do have a slight green/blue cast to them which is why the photos have the colour tone that they do.
Once your ND filters are in place, adjusting your aperture becomes the next crucial step. Opting for a small aperture, typically ranging from f18 to f22, helps limit the amount of light reaching your sensor while ensuring maximum depth of field.
When it comes to setting your shutter speed, the rule of thumb is to aim for a speed double your focal length if shooting handheld. For instance, if you're using a 300mm lens, your shutter speed should exceed 1/600th of a second. If employing a tripod, a speed of 1/250th of a second is generally sufficient, though your shutter speed can change if you have something in your scene that is moving fast light a bird for for example.
Fine-tuning your ISO settings completes the exposure equation, allowing you to achieve the desired brightness levels in your shots.


Pro Tip
Set your exposure setting to one of your custom modes. Once the moon passes in front of the sun you’ll need to readjust your exposure maybe even pull off your ND filters. Once the sun pokes out the other side again you’ll have to revert back to your saved settings. You can do this nice and fast if you have your settings saved in advance.
While my encounter with the solar eclipse may have been brief and hindered by weather woes, it served as a reminder of the awe-inspiring forces at play in our universe. Despite the challenges, every fleeting moment captured through the lens is a testament to the beauty of nature's symphony.
Photos shot with a Canon EOS R + EF 70-200mm f2.8 L IS USM and Two Hoya ND Filters stacked.