
5 Tricks to Get the Best Dynamic Range Out of Canon Cameras
When it comes to photography, understanding dynamic range is essential for capturing stunning images. Canon cameras, known for their advanced technology, offer great dynamic range capabilities, allowing photographers to capture a wide range of tones in their photos. In this blog post, we will explore five tricks to help you get the best dynamic range out of your Canon camera, empowering you to capture the right exposure in any lighting condition.
What is Dynamic Range? Dynamic range refers to a camera's ability to capture the full range of tones, from the darkest shadows to the brightest highlights. It measures the difference between the darkest and brightest areas that can be recorded in an image. A higher dynamic range allows a camera to capture a wider range of tonal values, resulting in more detailed and balanced photographs. Canon cameras offer impressive dynamic range capabilities, which provide photographers with greater flexibility and creative possibilities.
The Mistake a lot of Canon Photographers Make: One common mistake that many Canon photographers make when trying to maximize dynamic range is exposing for the middle tones instead of the highlights. Canon cameras have most of their dynamic range in the shadows, while other brands, such as Sony, have equal dynamic range in both shadows and highlights. Understanding this crucial difference allows you to use a specific approach to get the most out of your Canon camera's dynamic range.
Tricks to Enhance Dynamic Range: To help you preserve highlight detail and optimize your Canon camera's dynamic range, here are five useful tricks:
Expose for the lightest part of your image: Identify the lightest area in your frame, often the sky or something white, and use spot metering and exposure lock techniques to expose for that highlight. This ensures proper exposure for the brightest elements, preventing blowouts and preserving detail.
Activate D+ Highlight Tone Priority: In your camera's menu, enable the D+ Highlight Tone Priority setting. This feature alters how your camera captures highlight information, enhancing the preservation of details and tones in bright areas. Note that activating this setting restricts shooting at the lowest ISO of 200.
Utilize the histogram: The histogram provides a visual representation of the tonal distribution in your image. Aim to avoid a heavily weighted histogram towards the right side, indicating overexposure. Adjust your exposure settings accordingly to achieve a balanced distribution of tones.
Adjust exposure compensation and screen brightness: Set your camera's exposure compensation to -1, slightly underexposing your images. Additionally, increase the screen brightness by +1 to ensure you can accurately evaluate exposure levels. These tricks are reminiscent of traditional DSLR techniques and can still be valuable in maximizing dynamic range.
Utilize light intensity-cutting filters: Consider using filters like ND (Neutral Density), VND (Variable Neutral Density), GND (Graduated Neutral Density), or polarizers. These filters help reduce the intensity of light, allowing you to balance exposure and control highlights in high-contrast situations. Investing in quality filters, such as those from NiSi, can greatly enhance your photography.
Conclusion: Understanding dynamic range is paramount for capturing outstanding photographs. Canon cameras, with their exceptional shadow advantage, excel in preserving details in shadow areas and enhancing the overall dynamic range of your images. By exposing for the highlights in high-contrast scenes and employing the tricks mentioned above, you can fully utilize your Canon camera's dynamic range capabilities, resulting in balanced exposures with preserved details in both shadows and highlights. So, grab your Canon camera, embrace the shadow advantage, and capture breathtaking photographs that truly shine!


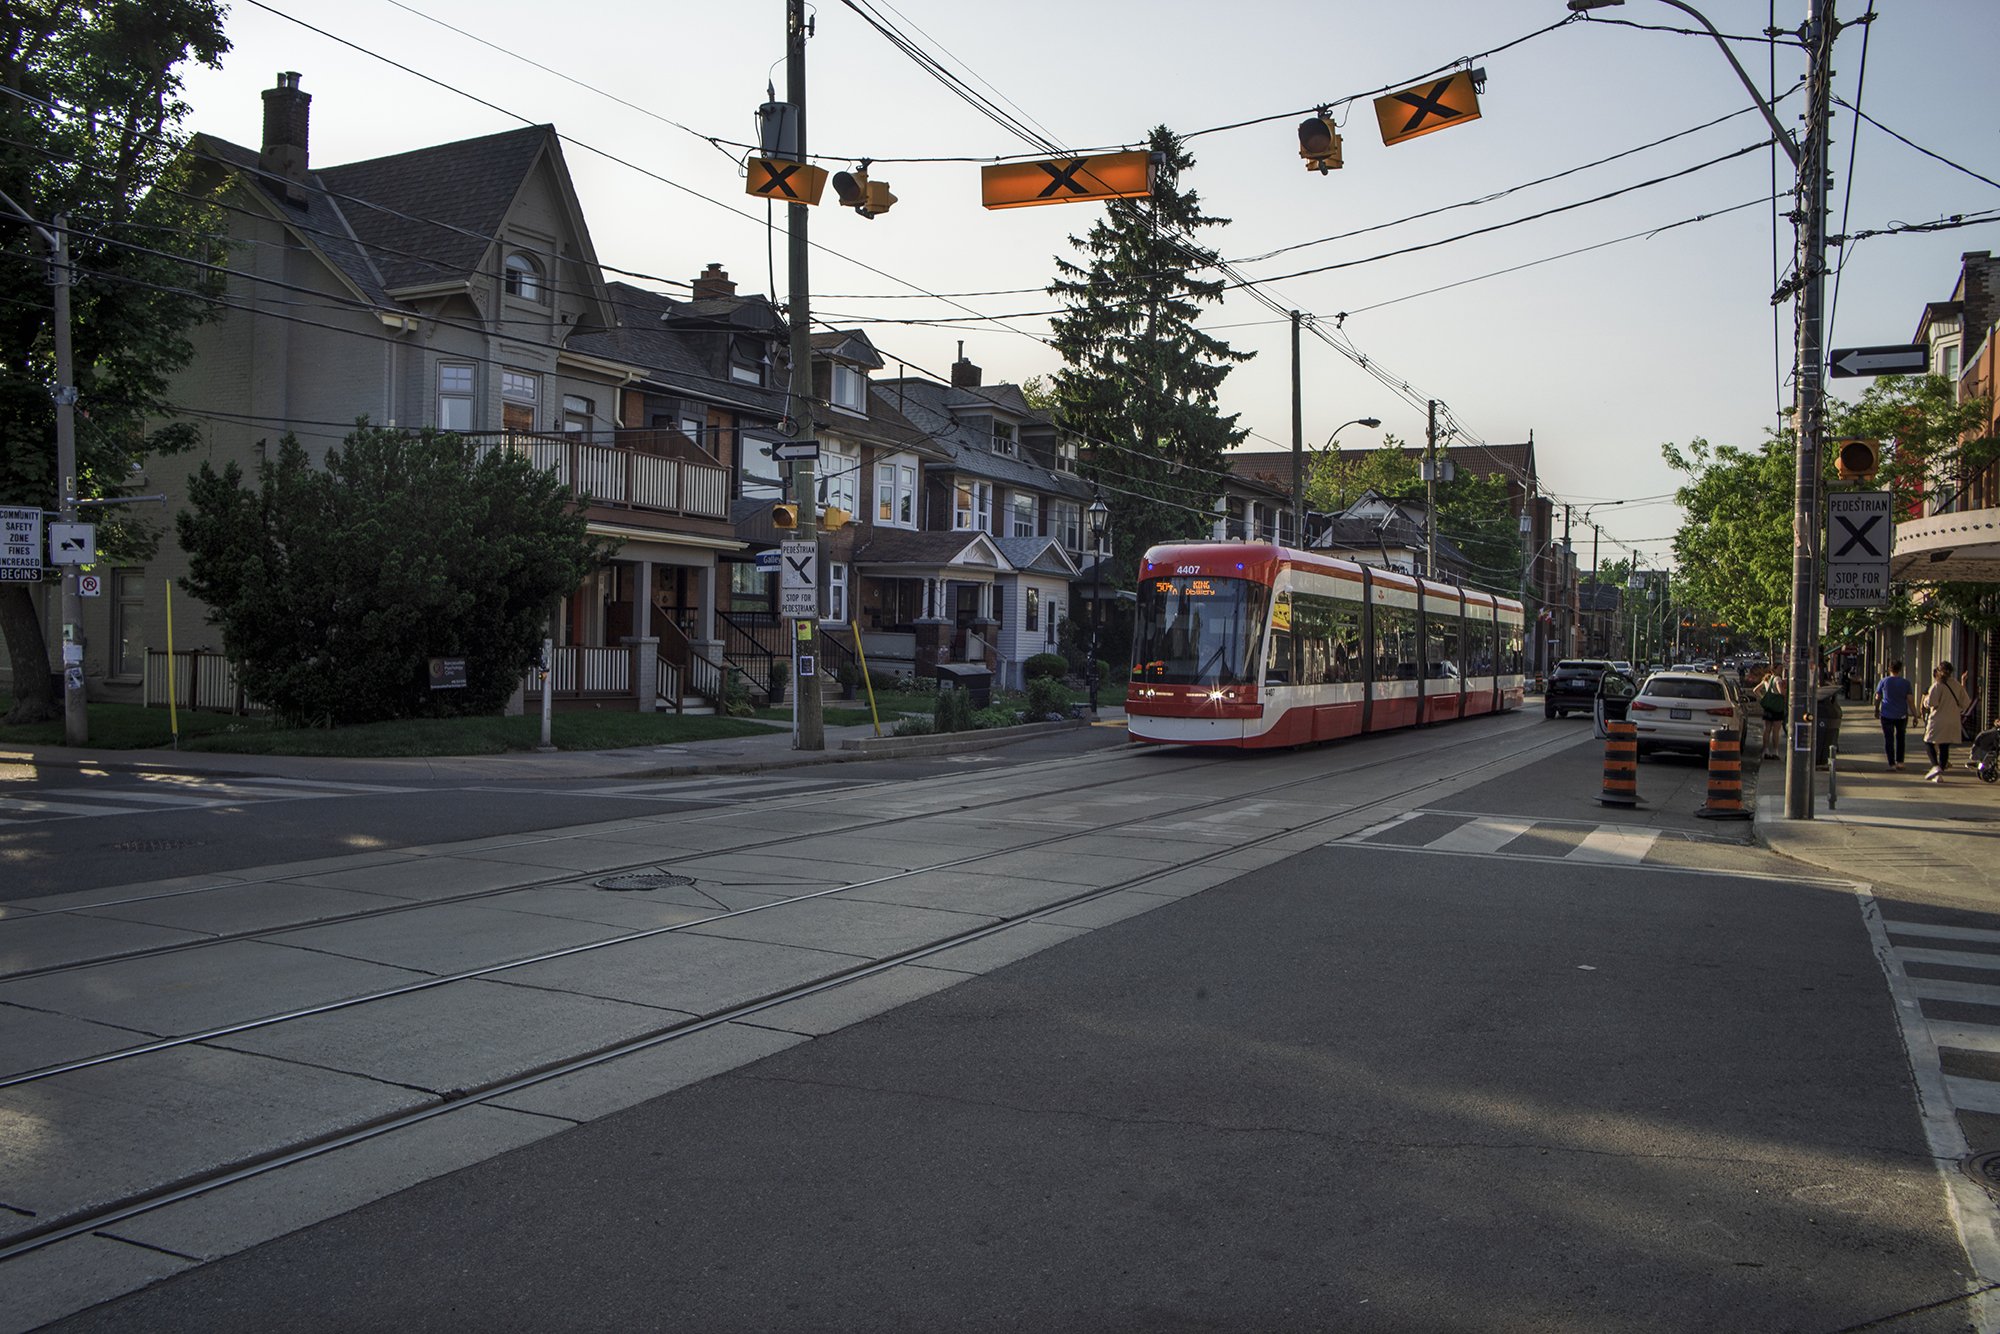


📷 Example photos shot with the vintage Osawa 28mm f2.8. More sample photos with this lens here.
⭐ Adapter used with the vintage lens: M42 to EOS R Adapter - https://amzn.to/3qrEyaa
🎬 Canon Menu Settings for Shooting With Vintage Lenses
🚀 EQUIPMENT USED TO MAKE THIS VIDEO
Canon EOS R5 - https://amzn.to/3snWNve
Canon EOS R7 - https://amzn.to/3XP4iw6
Canon RF 15-35mm f2.8 L IS USM - https://amzn.to/32fkIma
Canon EF 50mm f2.5 Macro - https://amzn.to/3afvQUq
Tiffen Pro Mist 1/8 - https://amzn.to/3uYDXMs
Godox VL300 - https://amzn.to/2SCUEQQ
Godox SL-60W - https://amzn.to/3xNwMJp
Neewer 660 RGB LED Light - https://amzn.to/3trqcpY
Weeylite K21 RGB Light Stick - https://amzn.to/37YN5vv
Sennheiser AVX ME2 LAV - https://amzn.to/2T2kj5D
⭐NiSi Filters
NiSi Swift Filter Kit - https://amzn.to/3OsGCJT
NiSi Black Mist 1/4 - https://amzn.to/3l0OR55
NiSi Black Mist 1/8 - https://amzn.to/3HKF5Nn
NiSi True Color VND - https://amzn.to/3YbYL29
NiSi ND8 3 Stop ND - https://amzn.to/3Yflhr9
NiSi True Color Circular Polarizer - https://amzn.to/3YdjJxH
